Using MixItUp jQuery filtering plugin
with Webflow

Item with text only
Item with IMG + text
Item with text only
Item with IMG + text
MixItUp is a jQuery plugin providing animated filtering and sorting.
Great for managing any categorised or ordered content like portfolios, galleries and blogs.
MixItUp can also function as a powerful tool for engaging application UI and data-visualisation.
All information you can find an the official site
Since "mixed" filtering with this plugin works much more complicated than with Isotope plugin,
here is only instruction for setup simple filtering "separated" categories of elements.
MixItUp filters and sorts content inside a container.
Your container should have a unique ID that MixItUp will use to reference it.
By default MixItUp will look for elements to filter and sort within your container with the class ’.mix’
So I have div with ID #container which has elements inside: divs with class .mix

For MixItUp to be able to filter the elements correctly, each one should be given specific class.
Create Global classes for that categories:
- .category-1,
- .category-2,
- .category-3,
- .category-4,
- ......................
- .category-n.
You can change category names as you wish.
More advanced filtering can be done by using configuration settings (mixitup-checkboxes, mixitup-select)
Add content to the elements, decide what category they will belong and style them like you wish.

Filtering happens when filter buttons are clicked.
By default MixItUp will apply filtering click handlers to any clickable element with the class ’.filter’
So you can have any container with links or buttons. In my case it is div with buttons, which has class .filter.

Each filter button requires the attribute data-filter containing a class of the elements you wish to show.
Add custom data attribute:

In my case I have this data attributes:
data-filter="all" for Show all
data-filter=".category-1" for Empty item
data-filter=".category-2" for IMG
data-filter=".category-3" for Text
data-filter=".category-4" for IMG+Text
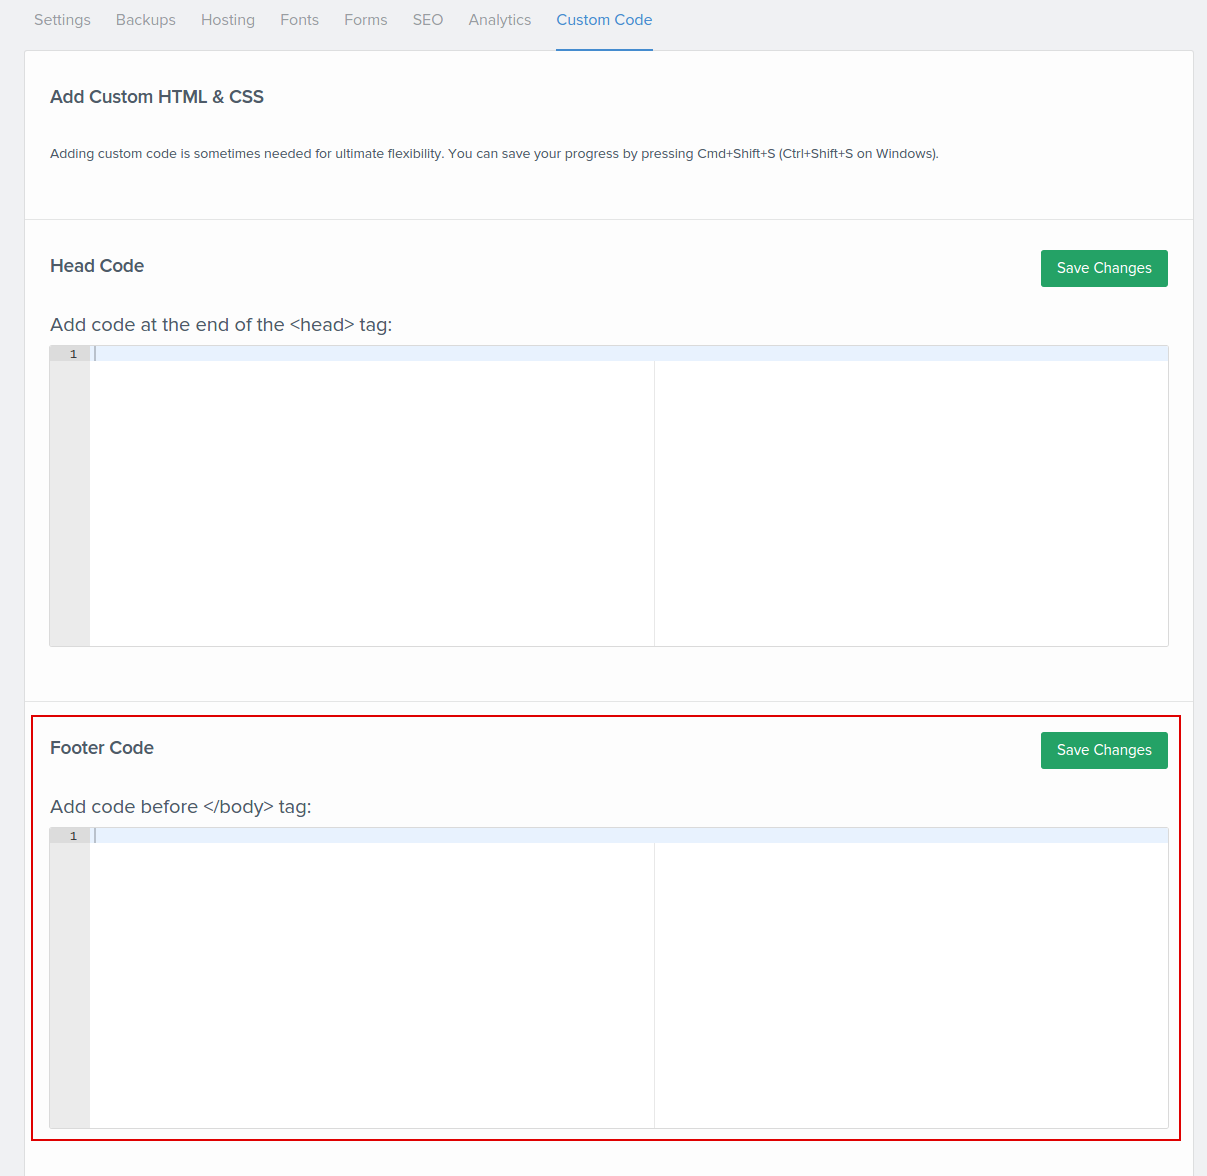
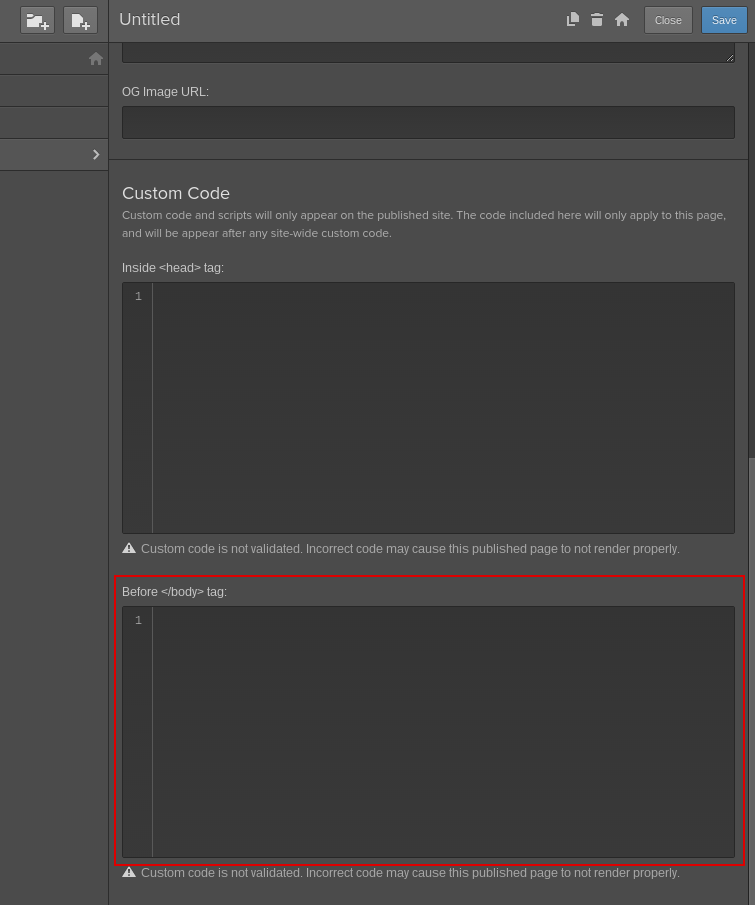
For connect this plugin you will have to add custom code to the site settings (pic1) or page settings (pic2) before </body> tag.
First you will need a link to .js file of plugin.
You can either host MixItUp yourself (hosting server or dropbox or google-drive)
or load it by using public CDN link or get public link to plugin file.
<script src="your link" type="text/javascript"></script>
In my case I used public link
http://cdn.jsdelivr.net/jquery.mixitup/latest/jquery.mixitup.min.js
After this line of code you have to add a code, which will call jQuery plugin.
Don't forget to change #container if your will use another ID.
Before we get to the finish, there is one small but crucial CSS rule you must add to the project:
filtering elements should have setting display:none
So, do not forget to apply display:none to class .mix before publish the site
When MixItUp plugin will load, it will add the display value as an inline-style (the default is “inline-block”).